I managed to spend a few hours at the studio yesterday as I was determined to get to the bottom of the mottling in my photopolymer plates.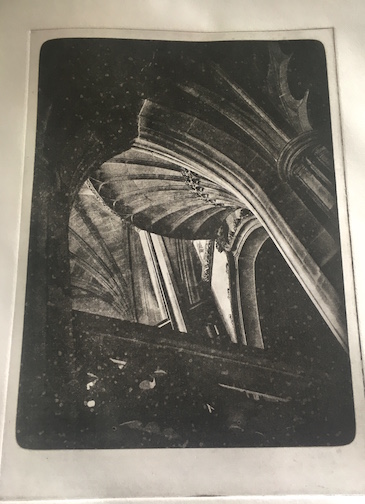 I decided to put to one side the recommended vacuum exposure unit and just use one of my standard contact printing frames on top of the vacuum frame and use the same lamp.There were improvements straight away. I also reassessed my base exposure for the stochastic screen as I wasn’t happy with the black I was getting. Turns out I was over exposing it and not under as I had thought.First tests were with a cheap drawing paper, these were with Fabriano and printed much better. First with Bone Black ink and then with some warmer Burnt Umber mixed in.
 I still need to fine tune the base exposure but I am much happier with it, and now its printing cleaner I need to concentrate on a custom adjustment curve to get the most out of the tones. Granted I am still very new to inking and wiping techniques so this will be influencing tone and contrast.
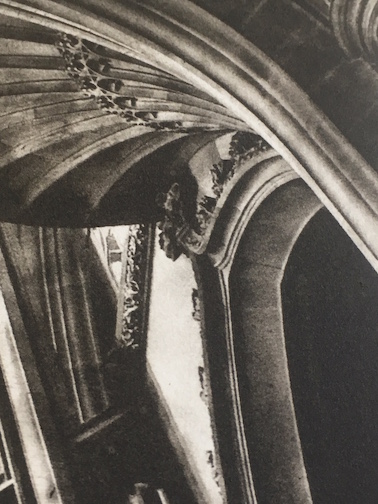 One thing I need to do is to cut my plates perfectly flat or leave a border for exposing, as the curve from cutting makes for exposure problems that shows up in printing, and maybe cut afterwards prior to inking.
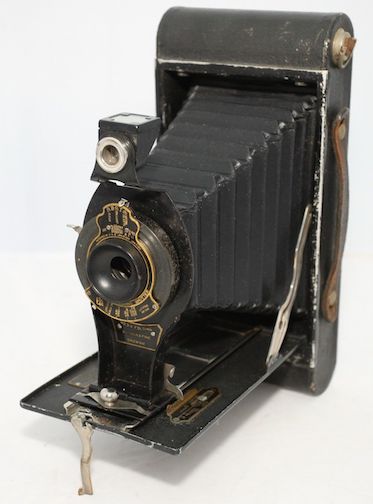 I took the opportunity to try out that Kodak 3B with some collodion. I also stuck up that awful backdrop I got cheap off ebay just to see how it reproduced.
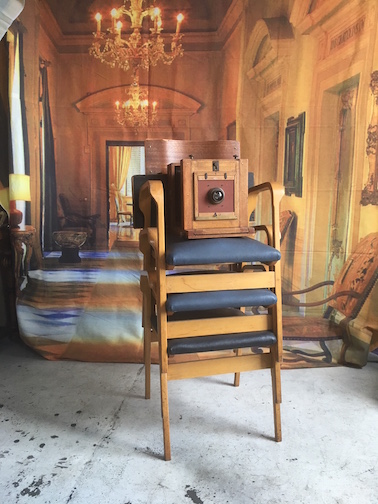 I like the plate size and crisp detail using this camera. I’ll take it along to the Phoenix Festival for some full length portraits, although framing using the small separate viewfinder will take some practice.
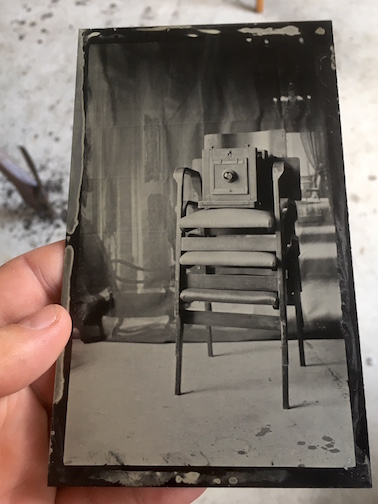 Contamination around edge of plate as expected, camera insides have now been varnished to help minimise it and protect the metalwork.Hope to be back in studio on Thursday for a full day of printing. I’m slowly getting there. If the vacuum frame isn’t working for me I might pass it on and make the LED exposure unit that I meant to make last year.
Great!
How do you load the plates in the camera? With a special holder or just cut to size inside the camera? Any modifications to it?
Just varnished inside on metalwork. This is a tintype cut to size. Never tried Glass in one as it’s 2mm thick but it might fit.