Okay its the first time attempting to make a set of bellows for the wet plate studio camera. I’d knocked up a lens board out of some mdf the other day, so thought I might as well dive in with both feet.
There are a few online guides/videos on how to do this, all with varying techniques and materials. This is sort of a mish mash of ideas that seems to work….almost.
As is often said, measure twice cut once, nonsense just get on with it.
So materials:
Long ruler, craft knife, pencil, card, book binding tape (make sure you have enough, I ran out and had to use gaffer tape), spray adhesive and thin almost light tight leatherette. Cost: about £20 total.
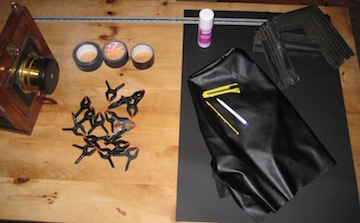
Card was measured and cut into four sheets and scored at 1 inch sections.
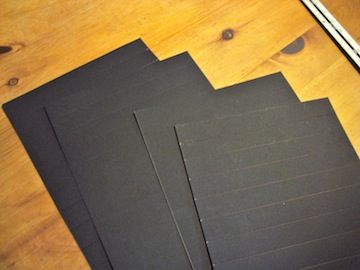
The Leatherette was cut to the same size as the card.

The card is taped together allowing a 1 cm gap and then the leatherette stuck in place with glue and more tape.
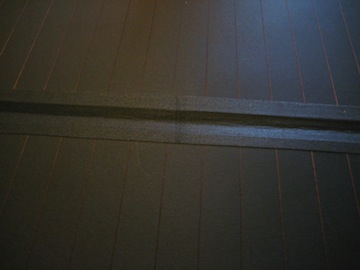
This is then taped together to give you one continuous tube which you then start to fold along the scored lines in the card. Folding one side to you, turn it then fold that section away from you and so on….I found this the most difficult part.
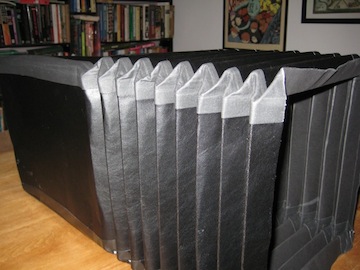
Until you end up with something like this.
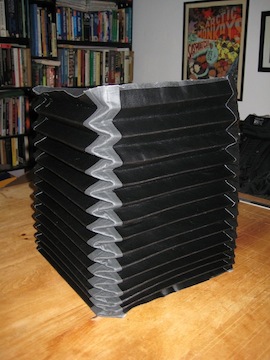
I’d allowed for the full 55cm extension and its a very solid bellows.
Here it is sitting in the camera body. And this is where the problems start, I knew it was going way too well. It doesnt fit. Its too wide, I hadn’t allowed for the taped gap so its just too wide to fit into the recessed rear standard, its a little tight up front also. You can see it doesn’t compress too well either, thats not so much a problem as this camera doesn’t exactly fold up does it? It would be great for studio use (if it fitted).
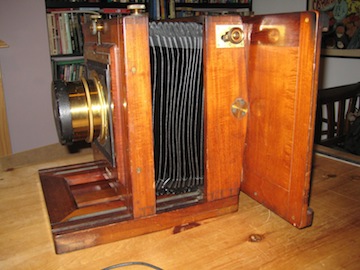
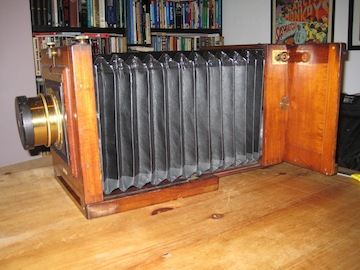
So I think I’ll have another crack at this, it seems to work ok and just needs fine tuning. I’ve got another studio camera that needs bellows in the studio so I’ll see if this one fits that.
Also, note to self, dont use your dining table as a large cutting board. Your Mrs will find out and give you ear-ache.