Steph and I spent a few hours in the studio today, trying our hand at Drypoint printing.
First we had popped to St. Helens to pick up a stainless steel workbench, we had found we needed quite a bit more work space than we expected, with inking and wiping etc. We managed to pick one up cheaply as these can go for crazy prices.
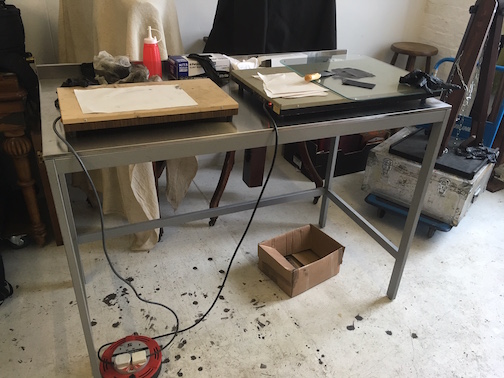
It will fit in the window bay eventually. We’ve also found that keeping the ink and plate warm helps greatly with inking and wiping. The darkroom tray warmers work well for this.
Neither of us had tried Drypoint, all we knew is what we had recently read, so it was going to be a little bit of scratch it and see.
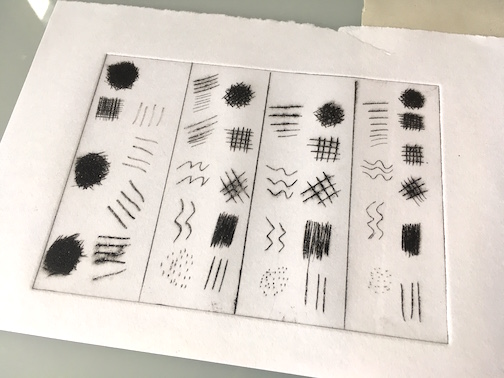
These were all made on clear acrylic plates from Intaglioprintmaker.com
Various scratches and marks with three different tools. We had no idea how hard to press or at what angle etc. I was pleasantly surprised how well this printed as the plate itself looked pretty poor.

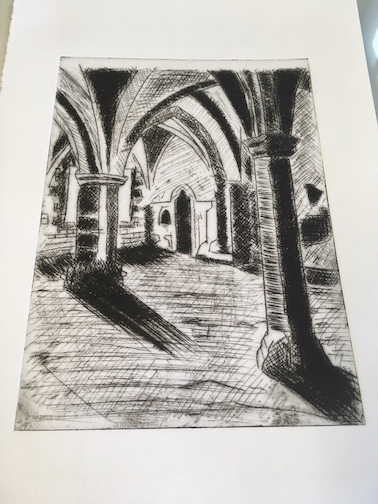
So after that promising start we started on our own plates. Now I’ve never really been any good at drawing, this is worked from a 12″x15″ ambrotype of the Sacristy at Lacock Abbey. This is mostly an exercise in what certain scratches and marks are achieved and how they look when inked onto paper.
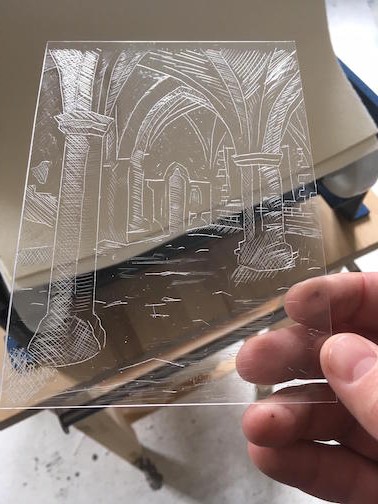
The inked plate.
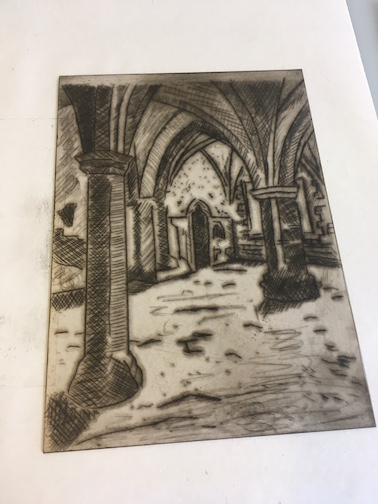
And the first pulled print.

Additional workings onto the plate…
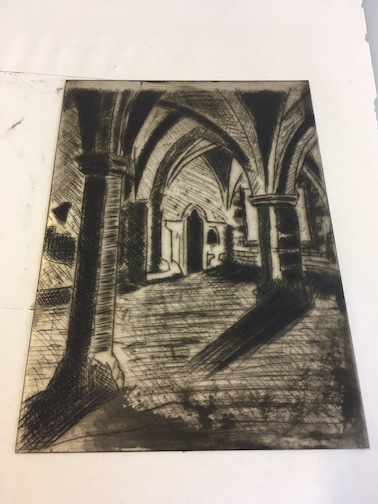
Much darker shadows, maybe I’ve bitten off more than I can chew. I think I remember now why I became a photographer!
Steph has a much better eye. Here are two of her first plates, St Teilo’s Church at St. Fagans Museum.
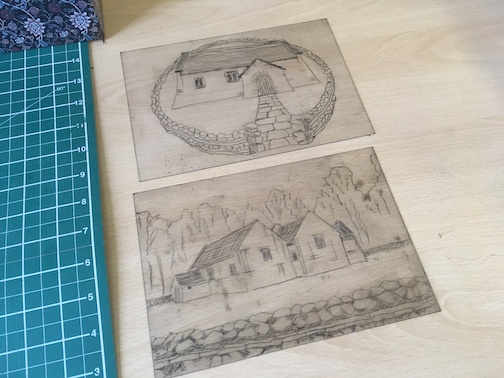

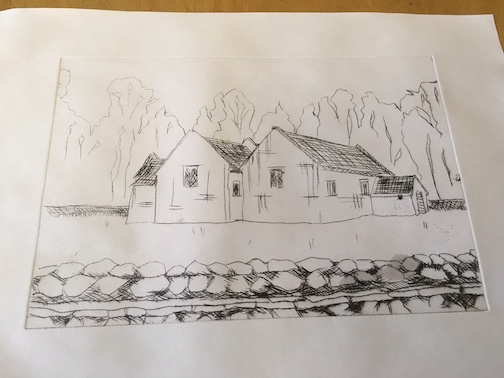
Using a sharp pointed tool on plastic is quite a challenge and totally different to drawing with a pencil on paper. It starts off fine and then suddenly jumps across the plate totally out of control, thats if we were even doing it properly in the first place??
I think I need some drawing lessons…

I think I prefer the first test plate.
I was planning to try this – great!
I quite like your first successes – at least there is something on the paper!
Happy to see your tries, thanks for sharing!
Katrin
Nice work — and a nice blog entry! You are too modest.
Thanks John.
Thanks Katrin, we were relieved to find that the pressures for the photopolymer plates were the same for the acrylic drypoints.
Good execution of Steel Workbench ? (just kidding)
But you guys have done amazing work.