My new mobile darkroom/campervan. A 2004 Renault Master MWB panel van 120 bhp with 105K. I’d been looking for a van for a while but the ones i liked were way too expensive. I had bought an Iveco Daily but the seller changed his mind and said it was no longer for sale. We then went and had a look at one of these Masters locally, it was wetter inside that outside so that put me off. As I had a date in mind I needed to be ready for, this Renault Master came up for sale on Ebay just as I was starting a new search. A quick call and I was first to see it, a test drive and a deal was done.
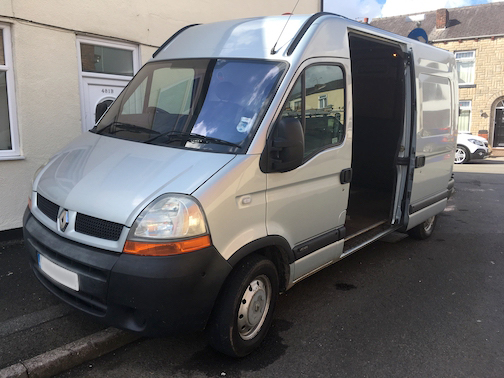
Insurance quotes were all over the place, one insurer even refused to quote me as they said I lived in an undesirable area??, the cheek of it! I ended up going through compare the meerkat and paid about £300 for the year fully comprehensive.
My original plan was to buy a SWB not a MWB, as parking at home in the terraced streets can be a challenge for a car let alone a van. I’m so glad I went for a MWB as it’s soon filled up.
Previous versions were the LDV Cub…
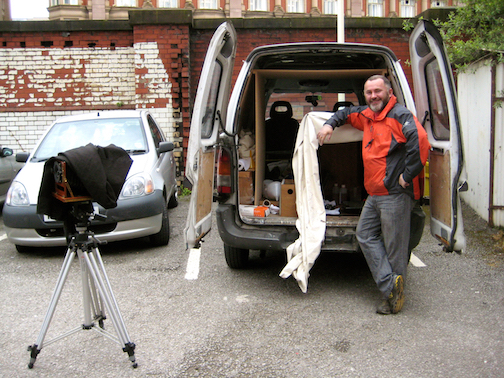
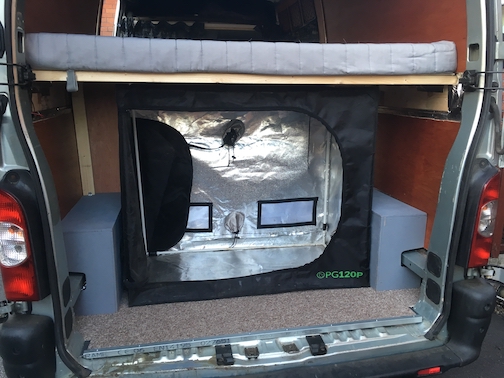
… and the Peugeot Partner, the PG120 hydroponic tent fitted exactly and allowed me to shoot up to 12×15 inch plates on location.
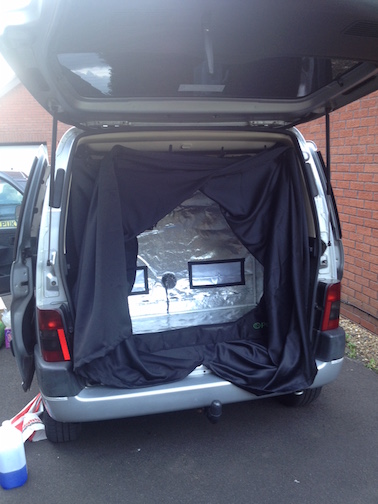
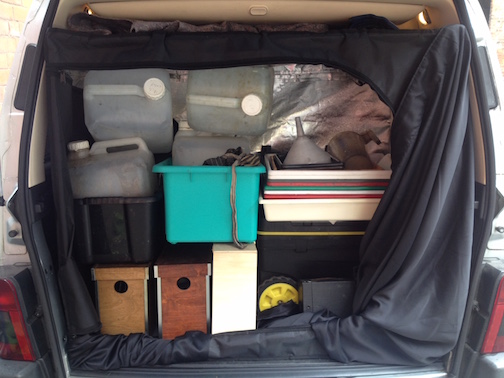
I wanted to use the same setup.
I’m getting too old and grumpy for camping in a small tent and packing it all wet into a car, so I wanted to go back to a van that I could combine as a camper and darkroom. Same principal as the Peugeot Partner with portable darkroom in the back but with living space in the front, but how to best utilise the space? I think I went through 3-4 plans, changing my mind daily until it came to biting the bullet and getting on with it.
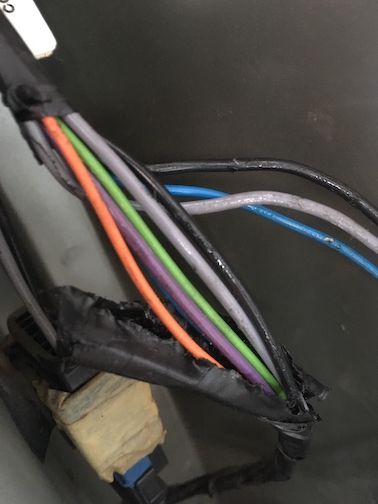
One of the very first things I needed was a reversing camera, just a cheap wired one off of Amazon. Installation was straight forward enough until it came to piggybacking onto the reverse light wire. Which colour wire? It all looked a little like the bomb defusing scene from a movie… cut the grey wire… no, cut the purple wire… you’ve got just the one chance!
Turned out it was the purple one.
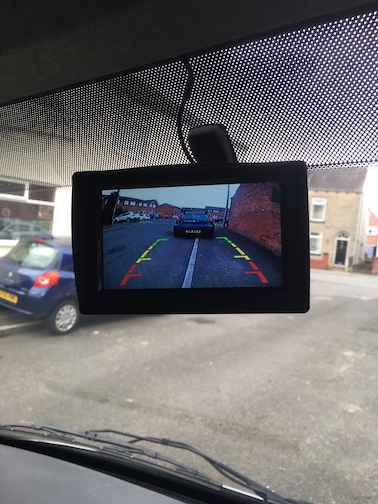
Parking is so much easier now.
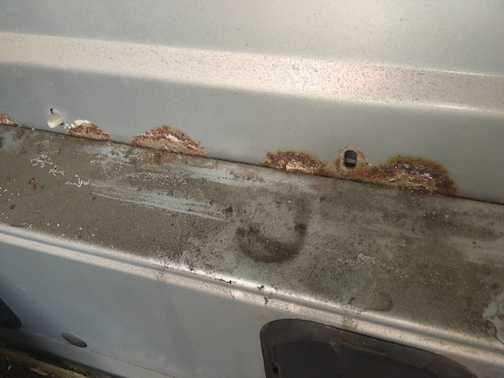
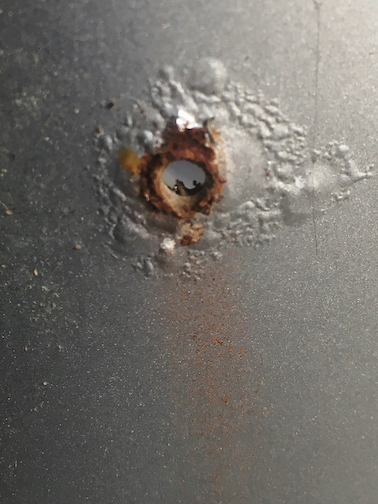
The last owner was a mobile commercial welder, the panelling and floor were coated in some sort of oil. The panels were to be replaced new but underneath, the original walls and floor took a good deal of hot soapy water and elbow grease to get clean. It was well worth it as the oil seemed to have protected a lot of the metalwork and the only real rust was from any holes where the flooring had been bolted to the van.
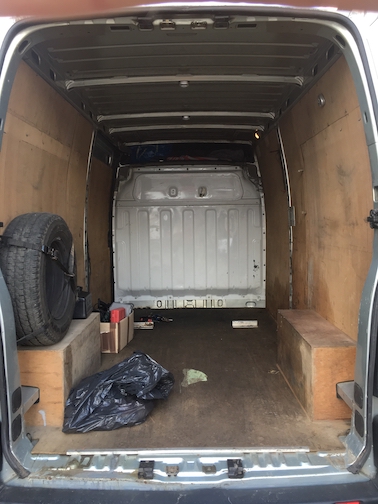
Taking the bulkhead out, there are pros and cons to this yes but I took it out anyways and sold it on. It let a lot more light in.
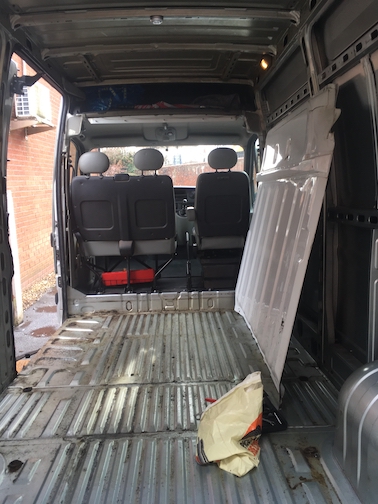
Thick with oil.
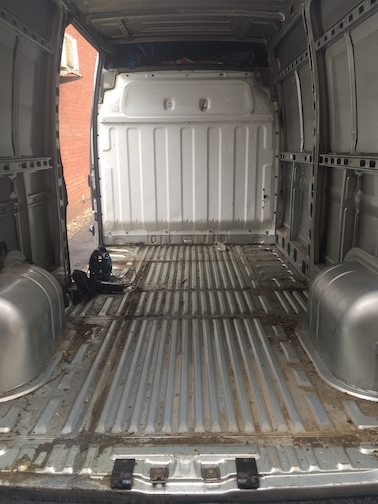
All rust was cleaned and treated with Rustoleum, then filled and covered.
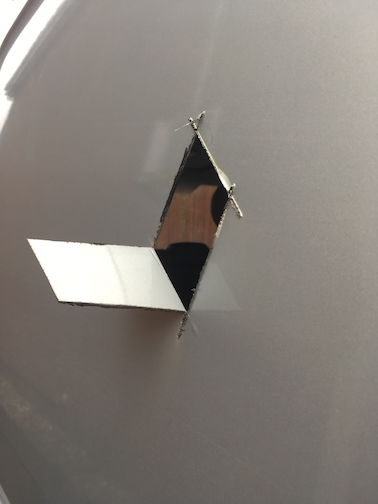
I needed to get some windows fitted, I briefly toyed with the idea of doing it myself but so glad I paid for someone to come and do it. So one large privacy window to the side door and one opening slider window in the opposite panel. Luckily selling the car paid for the windows and some of the conversion.
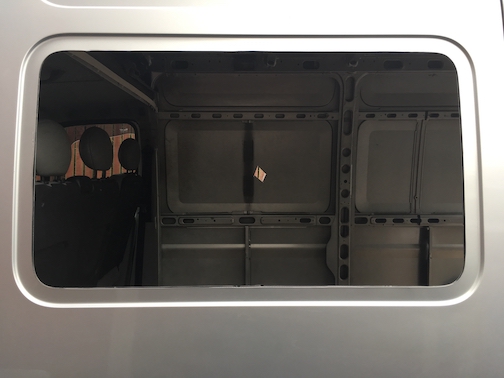
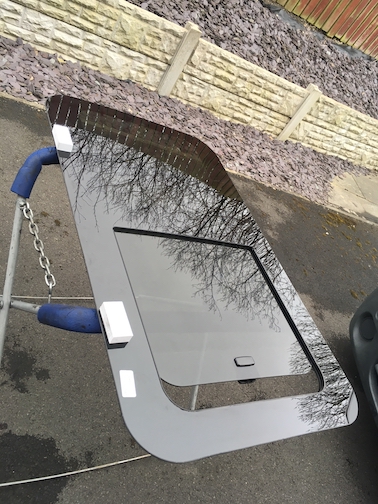

Now, insulation gets discussed a lot on the self build forums and Facebook pages, with many ideas, opinions and well intentioned experts all seemingly contradicting each other, so it was a case of go with what you can afford and can get ahold of easily. So I have a sandwich of foil bubble, plastic recycled loft insulation and another foil bubble layer. The floor was insulated with laminate underfloor foam and silver lined panels. Most stuff you can buy from Wickes, B&Q and Screwfix.
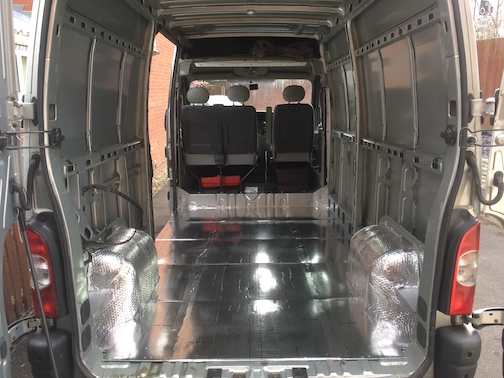
The carpet came from a local mill store and was an end roll. It works a treat, a good colour to hide any stains and is heard wearing. I also needed to replace the foot edgings but the chequerboard metal trim seemed very expensive, so in the end I went for some plastering trim for 1/6th the price! Its more than strong enough.
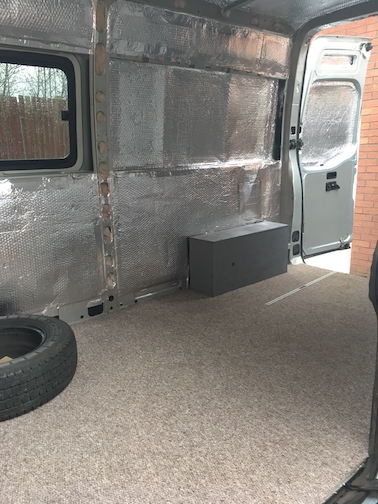
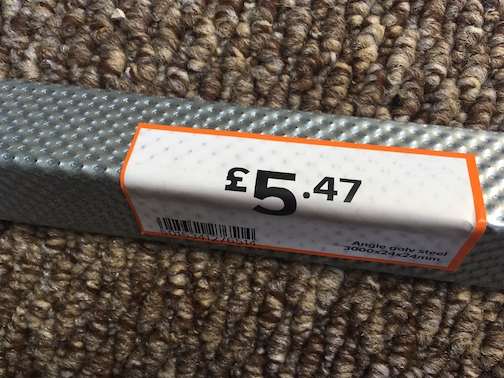
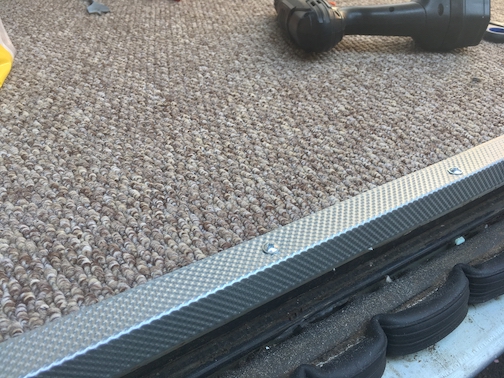
Re-panelling with plywood was a challenge, again I toyed with the idea of t&g cladding, but went with what I thought would be easiest? And wow plywood aint cheap! I think most of my budget went on 5mm and 9mm ply. We haven’t painted it, just wax sealed.
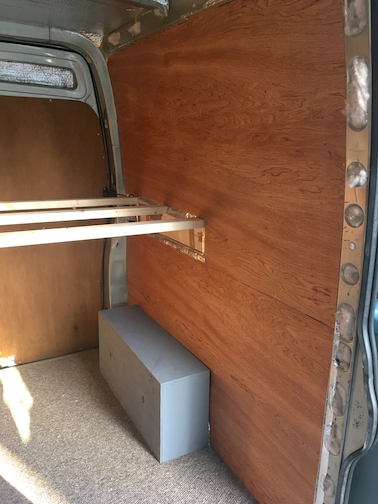
I knew I needed a raised bed and had seen one on vanlife.tv which uses a Movano base vehicle, which is basically the same as the Master. That bed rested widthways supported by the metal wall brace of the van itself. This only came to 90cm or so and I needed over 100cm after the insulation and floor was down. So I had to raise the bed by using a large thick timber for the cross slats to attach to. Its bolted to the metalwork and very solid. There is hardly any movement in the entire bed. Of course it has vertical supports at the front and I will have a temporary one at the rear span just in case when in use.
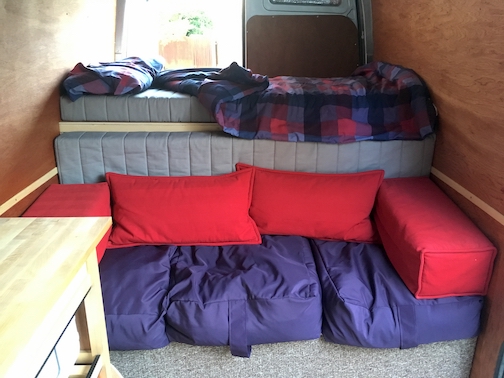
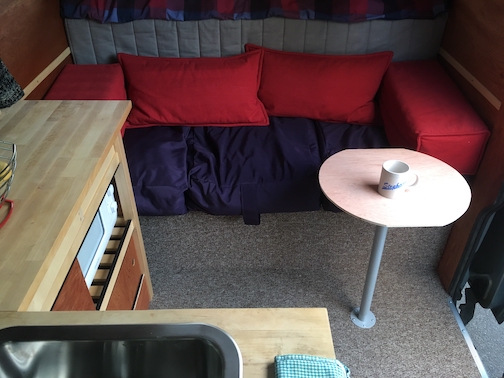
The Kitchen and worktops are repurposed Ikea wooden trolleys, one of which was given to me, thanks to Jamie. At right-angles to each other and a little chopped off the end worked perfectly. All bolted to each other, the floor and walls. Cutting a work surface for a sink was a little nerve-wracking but worked out fine. Fitted with a small Ikea sink and drainage, water fed from a 10 litre container via a Whale hand pump. Oh and the piece I cut out of the worktop I fashioned into a chopping board.
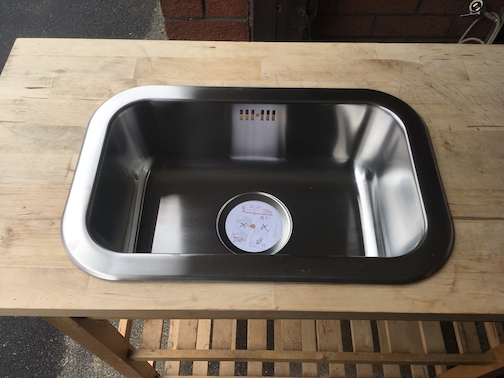
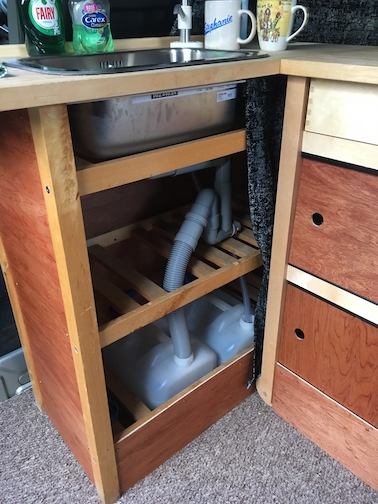
The Daewoo microwave is a compact version that will run off the electric hook up. I’ve not fitted a leisure battery etc yet as I wanted to see how the layout worked and any other changes I need to make before I invest any further. A camping gas stove will also come in handy.
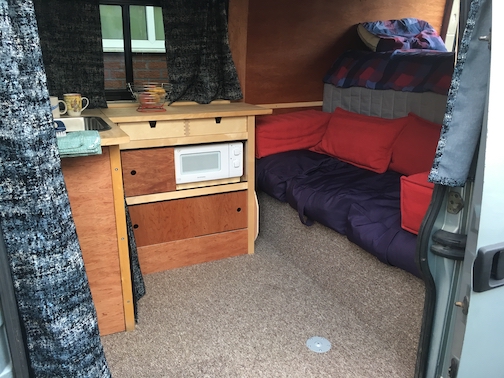
Now the table was a challenge as we didn’t think we’d use one but one has to be fitted to register it as a camper. This version I found via FB and youtube, its an adjustable table leg from Ikea (again only a couple of £) but turned upside down. The leg screws into the metal plate (attached to floor) and the table top (ply) screws into the leg by using the adjustable “foot”, its pretty solid surprisingly, and we’ll probably, maybe keep it.
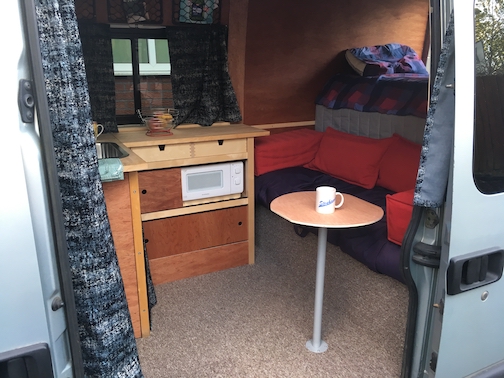
The seating is very comfy, made up of three bean bag cover cushions that are filled with the duck down from our sofa seat cushions after a revamp. You just sink into them, they are also handy as they can be used for individual seating outside as they are waterproof and easily cleaned. Under the seating there is extra storage.
The mattresses came from an Ikea day bed, I’d bought one previously very cheaply that was too nice to chop up so sold it on ebay for a healthy profit. The narrower mattress that makes up the back of the seating at the moment, will eventually be a hinged extension to the bed so it hinges up to make a large double.
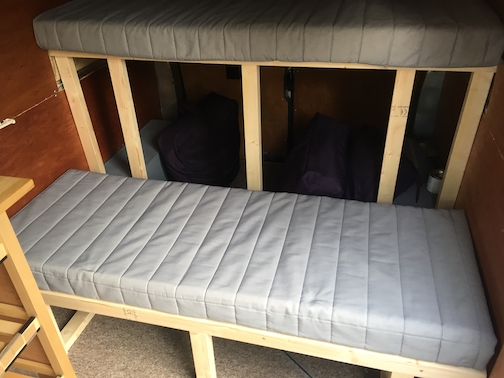
Under the bed to the rear is the main reason why things are set up as they are. It needed to fit my “portable” darkroom and other kit for demos and events. The pop up gazebo I use is going to fit just fine, plus I have lots of extra storage for camping kit, fire-pit and beer etc.
To register a panel van thats been converted to a camper van, as it is a legal requirement and necessary to keep a valid insurance policy, you need to meet certain minimum criteria for the DVLA. Good info here. Basically a door to living area, a window, a bed, seating, storage, water supply, a table and a means of powered cooking. I believe I’ve met these requirement so have sent off my v5 with supporting images and letter. We shall wait and see, fingers crossed.
One thing I did learn was that you need the right tools for the job. I’m not a great diy-er so tried to get buy with the limited tools and bits n pieces I have, its a lot less frustrating if you have the right tools to start with. Oh, and I now know that self tapping screws are different to self drilling screws.
It might not be as high spec and fancy as many self build campervans out there but I’m sure it will do us just fine.
Thanks to Steph for putting up with my swearing and frustrations at trying to get this all done in time, and thanks to her Parents for letting me borrow their drive and making a mess whilst we did the work.
And the reason for all of this:
This weekend is the European Collodion Weekend (ECW2018). A fantastic event and opportunity to meet up with like minded individuals who shoot wet plate collodion. This year it is being hosted by Severine and Joel in Luxembourg. I’m sure they will put on a great event, no pressure following on from Alex and the amazing events the past few years near Eindhoven …. no pressure at all.
Nice!