I’ve always wanted to try this process since seeing it a while back on various social media. Luckily, Chris Gries was showing the process at the recent UK Collodion weekend and was very generous with his info along with some free starter chems, so I could have a go. Thank you Chris for showing how its done and for the RA4 dev and blix.
RA4 colour reversal direct positive printing uses colour photo paper, exposed in camera with illumination filtration and then processed to give a colour positive image.
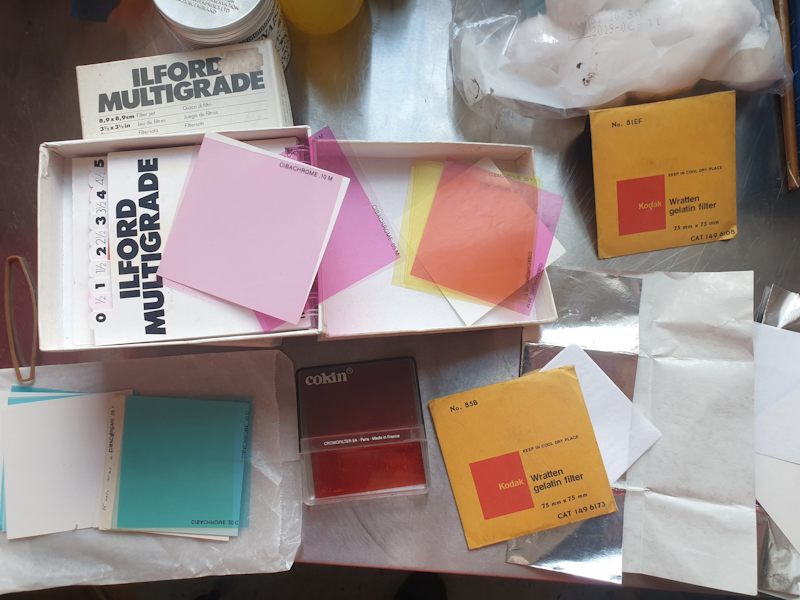
So, today I spent a very enjoyable day at my studio. I already had some Fujicolour matt 10×8 paper and a box full of filters. I had also purchased a daylight processing drum tank for 10×8 prints, the seller had included a load of Cibachrome filters and a smaller 5×4 processing drum tank.
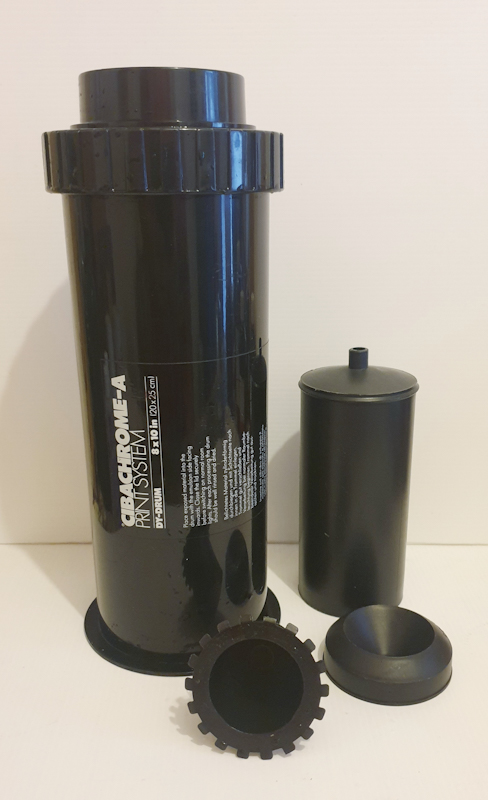
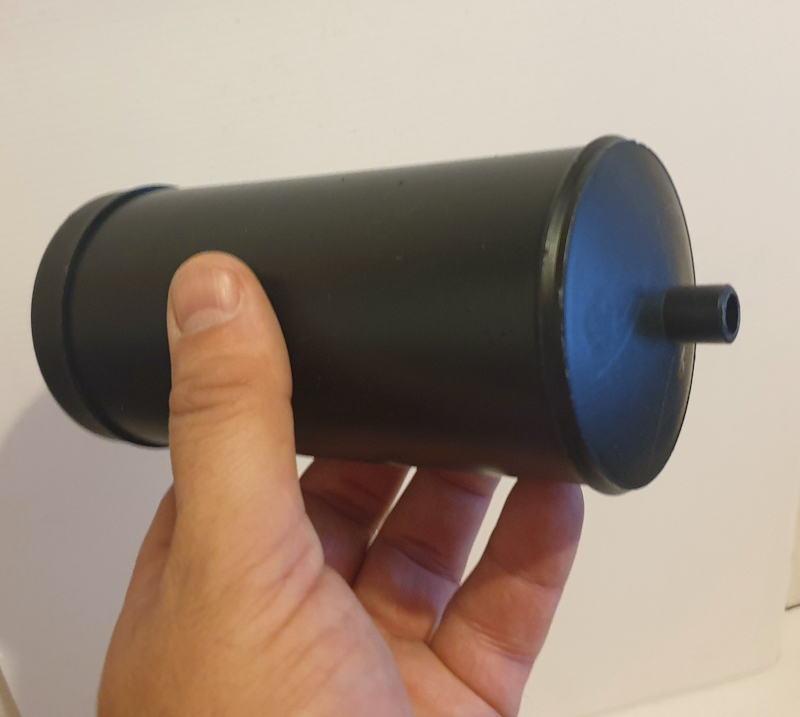
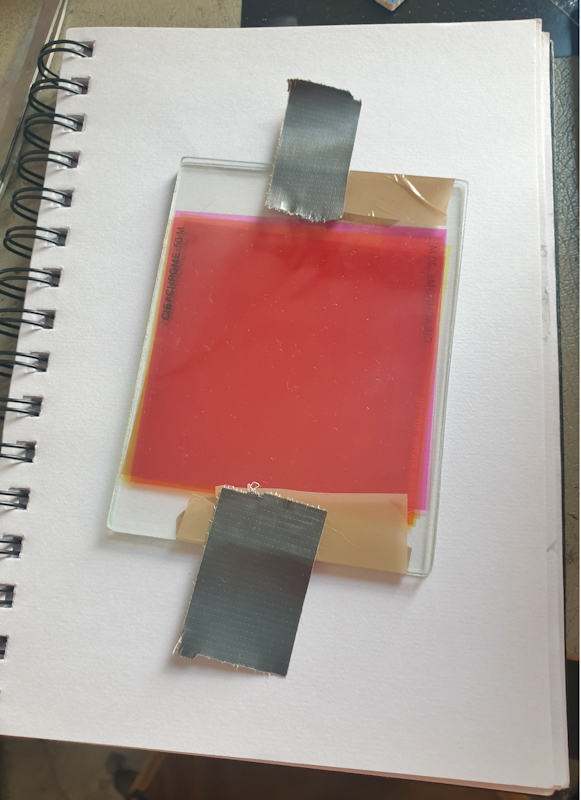
Rather than start with a filter pack in front of the lens I decided to do my tests on torn 5×4 paper sheets in the dinky drum processor but placed the filters on the paper in the film/plate holder. Held in place with sheet of clean glass. Adding and subtracting filters with each test exposure.
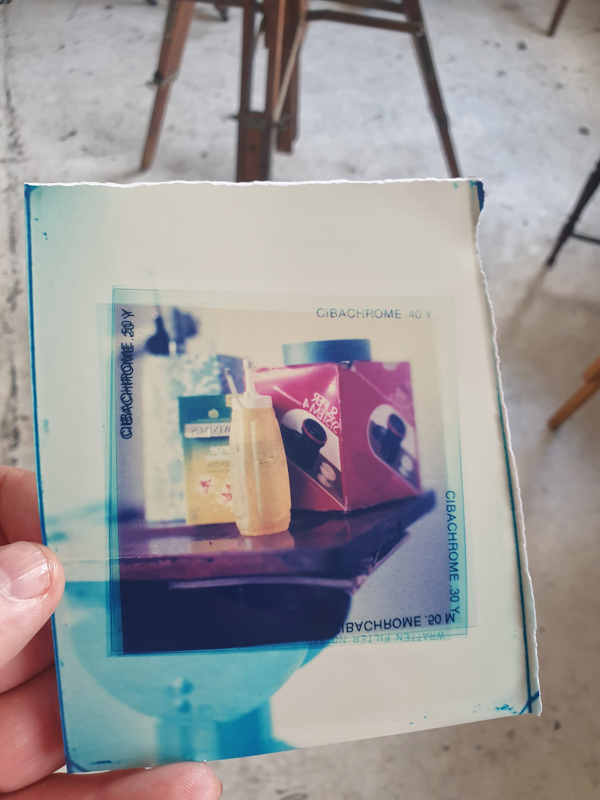
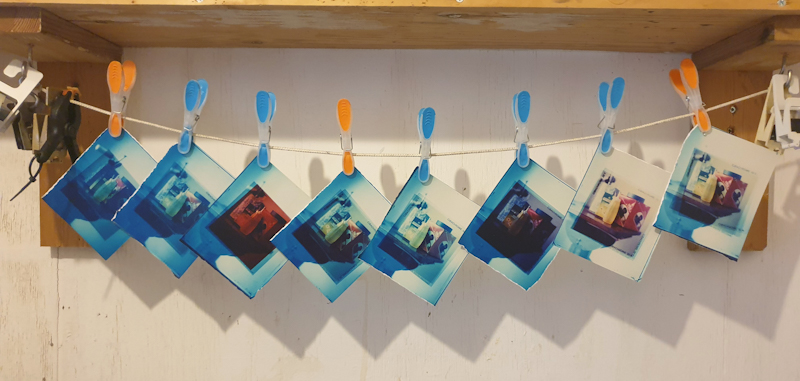
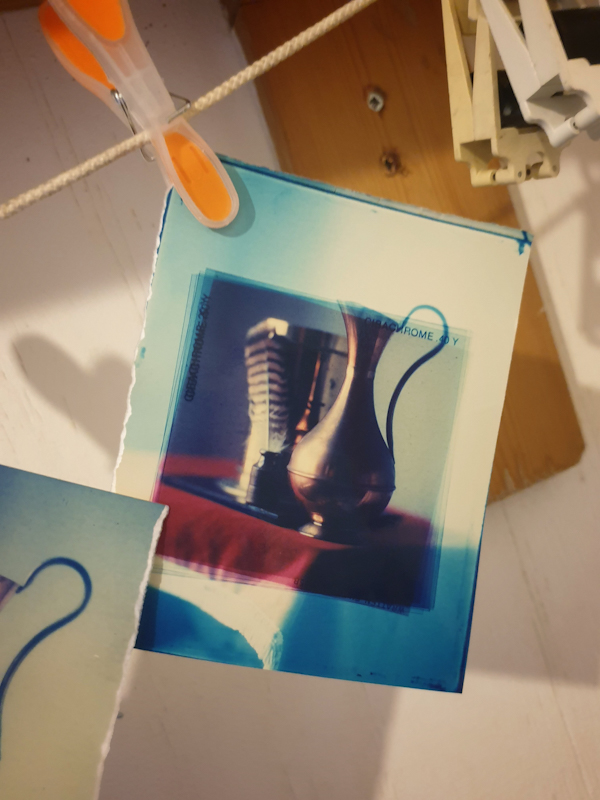
I started with the usual 85b with yellow filters, adding additional yellow with each print, then I started to add magenta due to the colour casts. The idea being to get a balanced filter pack in relation to the light, paper and exposure. I was quite pleased with the early results. Although I did do one schoolboy error… the more exposure the lighter the image, and not the other way around. Oops. So a lot like wet plate.
Of course the size of the filter limits the lens size and thus print size. Rather than design a filter holder for the front of the lens I just went for a filter sandwich between two sheets of glass, which I put inside the camera behind the lens. Much easier when you don’t have a lens shutter and are just taking the lens cap on and off for exposures.
I rated the paper around ISO 6, but with the filter pack its about ISO 1 for metering. After exposure the paper is put in the processing drum in complete darkness (as is loading etc) then followed by a number of chemicals.
Pre-wash in water – 1 min. It’ll be blue when you pour it out. Don’t panic.
Ilford PQ University developer (1/9) for 3 minutes.
Stop bath for 30 seconds followed by quick wash.
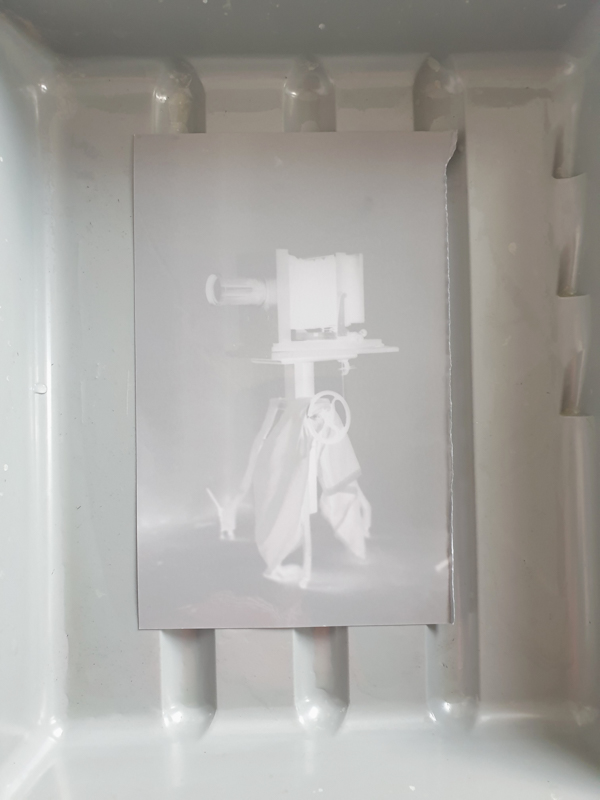
The paper can then come out of the tank/drum and you have a black and white negative. Remember this is a reversal process. So bring your paper out into the light, no set time.
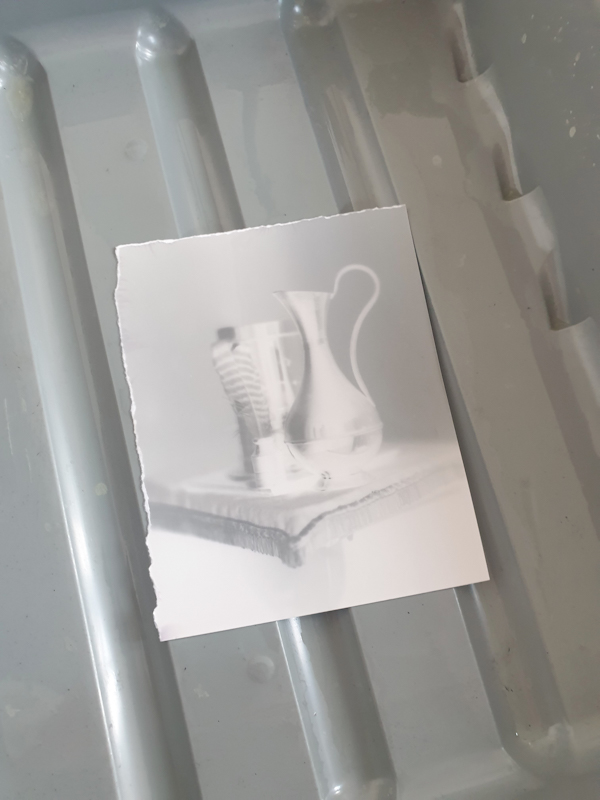
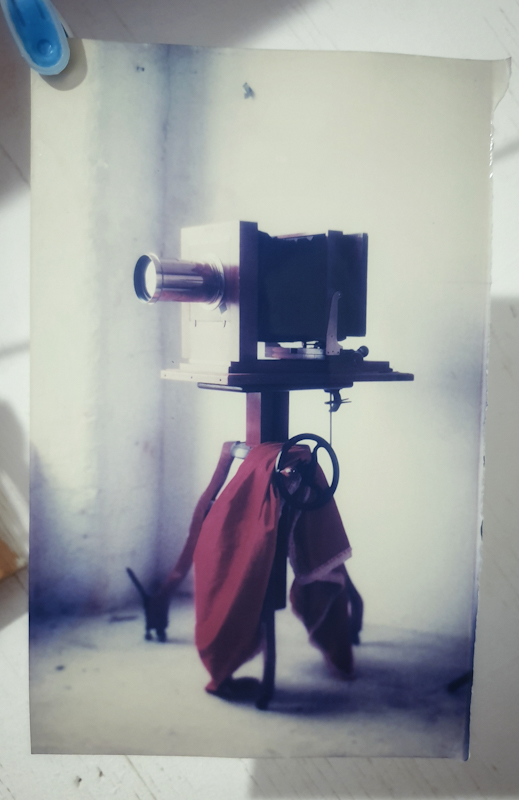
Then you pour on the RA4 Developer for 2-3 minutes, in a tray and watch as the B&W negative changes into a full colour positive print.
The final stage is the RA4 Blix (Bleach/Fix) for 2-3 minutes, this can lighten and shift the hue slightly. Follow this with a good print wash.
Then repeat to fine tune exposures and the filter pack combinations for any colour casts. Cyan seems to be the main colour cast that I was having issues with mostly.
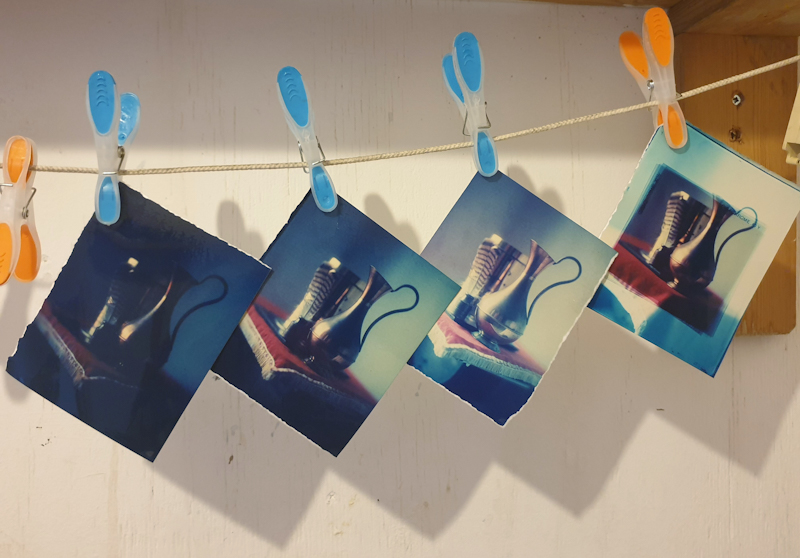
Finally getting somewhere, maybe.
The last print of the day, as time had flown by, was a wider shot a studio camera with window light. F8 for 28 seconds. It was a lovely clean white in the Blix but yellowed later in the wash. ? Maybe not fixed enough.
I can see this getting quite addictive. Especially for one off large studio portraits. I do have some large colour paper for the 12×15 inch camera, the problem would be finding colour filters big enough to cover a lens like the Dallmeyer 4B. Needed for the low ISO, wide aperture and longish exposures. Maybe I should try some strobes? But then I guess the filter pack combination would need adjusting.
Where do I find very large filters? Or can lighting gels be cut down? I’ll check online.
Oh and I guess skin tones are going to be quite tricky with colour casts.
Thanks again to Chris, for the demo and the Chems. Appreciated.
Super cool! Maybe I’ll give it a try sometime.
I had great fun trying it today. It had same addictive feel as wet plate. Hope all is well with you.
Wow! That’s an amazing process and you’re getting really good results!
Thanks Marizu, it was best fun I’ve had in the darkroom in ages.
I hope all is well with you.
This looks really interesting Tony. I’ve been wanting to try out this process for a while, so am going to have to give it a try. I have a Jobo daylight processing drum, looks similar to the one you’ve used, so will give it a whirl.
Is the Ilford PQ University developer just a b/w dev? Can I use any old b/w dev? Thanks!
Hi Jonathan
Yes its just b&w dev. I’m sure others would act similarly.
This looks really interesting Tony. I’ve been wanting to try out this process for a while, so am going to have to give it a try. I have a Jobo daylight processing drum, looks similar to the one you’ve used, so will give it a whirl.
Is the Ilford PQ University developer just a b/w dev? Can I use any old b/w dev? Thanks!
Can you list the filters you used for the workable result? I have the same cibachrome filters waiting to be used
Hi I would but my studio is packed away whilst I set up a new one nearer home. When it all comes out of storage I will let you know.
Tony