Two very different wet plate tutorials the past two weekends.
The first weekend the chap had a very bad chest/lung reaction to the ether/alcohol in the collodion/varnish. He had a predisposed condition which exacerbated the condition.
So unfortunately he could not carry on his wet plate experience. He’s now looking into making modern photographic emulsions onto glass. I wish him good luck.
A while ago I was contacted by French photographer Christele Jacquemin. She had previously taken a workshop in Spain using wet plate and contact printed acetate techniques and wanted to take it a little further and practice her technique in reproducing her digital work in wet plate.
I’m sure there will be a few wet plate purists tutting and shaking their heads at this and calling it not proper wet plate. We’ve been there and had that discussion before. Its a case of you do what you want to do to make the image you want to make!
Now wet plate and acetate is not a technique I would usually use. My usual way of making a “digiplate” is to capture in-camera an image displayed on screen. This works really well especially when reducing from a large image to a smaller plate, thus disguising the screen pixels.
Another way is the more traditional flat 2D copy way of a printed work and two lights either side and camera on same focal plane.
Christele wanted to concentrate on using just acetates onto Trophy Aluminium as this is how she will be working on return to Spain.
This worked out quite well as it was a case of experimentation to find what worked best for my particular set up. Christele will experience some of these and perhaps a few more different problems when she sets up for the first time back home.

A major problem we had was one of clouding. This has the similar characteristics of too early a dip into the silver bath but after a process of elimination and experimentation we found it was the actual acetate material itself and maybe the way it is laid down onto the plate. It was a bit of a weird one as the occasional plate showed no “clouding” at all. Changes of acetate resulted in varying effects, and typically it was the fourth and last acetate type that worked best and removed the “clouds”.
We also found that it was one/two plates per acetate depending on which one you used. This can be annoying and a waste of ink so we sandwiched a plain sheet between the printed sheet and plate. Still seems a waste.

So get the right acetate and print at the highest possible quality, this will depend on how fancy your printer and ink is of course.
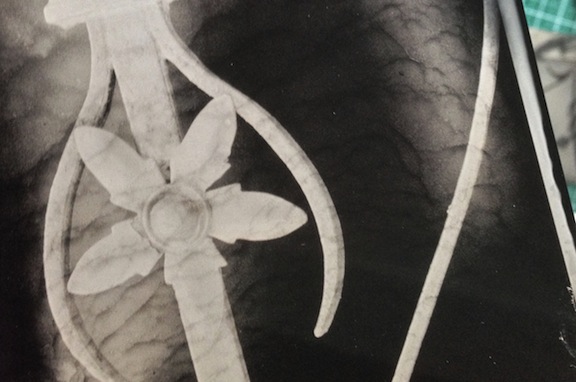
This plate looks like it has “clouds” but is actually the texture behind the main subject so is in the image.
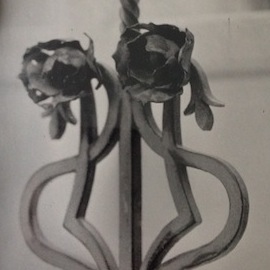
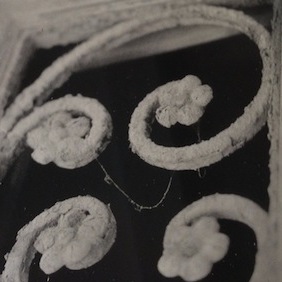
Excellent tonal reproduction without any adjustment curves.
EDIT: Images now cropped at request of photographer.


I must say the end results were pretty impressive at the end of the workshop. I cant say I’m a convert, I still prefer the direct from screen method, I even got Christele to have a go… but I think she’s going to continue with the acetate method.

I’m looking forward to seeing how Christele gets on.