Following on from the previous blog post…
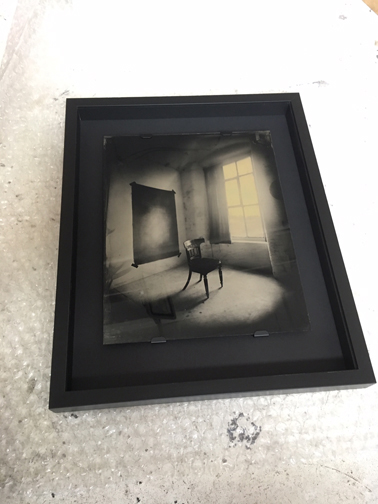
I’d made three 12×15 inch ambrotypes for the Shadow Merchants exhibition. The main problem is how to mount/frame such large plates. Smaller plates can be attached by sticky tabs on the reverse of the plate to suspend it by the back board. I didn’t want to risk that with these much larger plates. In the past I’ve sunk the plate into the mount so its held tight, but I wanted these to float from the frame. I recalled some US wet platers have used spring loaded mirror clips so I thought I’d try them out. I was pleasantly surprised.
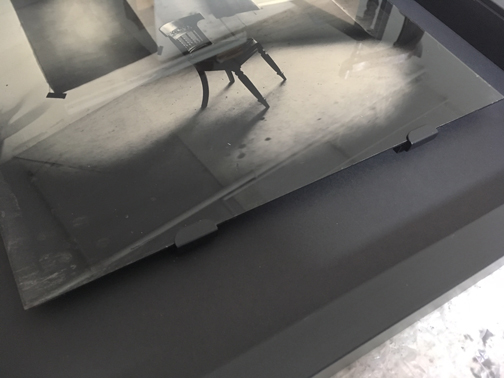
The clips are for much deeper material. My ambrotypes are only 2mm glass instead of the 6mm or so required, so they are supported with felt pads between clip and plate. They are pretty tightly held in place if you measure the mount points accurately so there is only a mm of spring space to get the plates in.
I think they work really well, allowing for an unglazed framed finish.


I painted the clips matt black.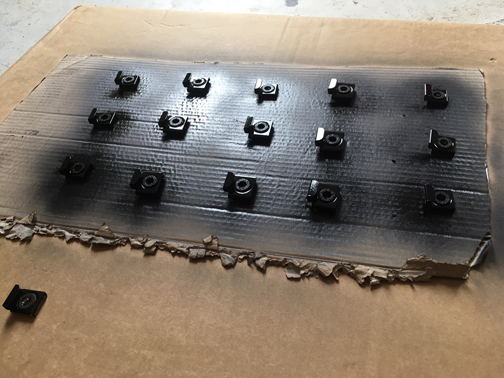
I also made six Bromoil prints. I do like a Bromoil print. In the past I have used Ilford Multigrade Warmtone FB paper with very good results. This time I used Foma N113 FB paper. I’d not used it before so thought it an ideal time to try it out. I’d also used the ambrotypes to make the prints, as they are basically under exposed negatives, that result in decent prints to make Bromoils from (which can be a little contrasty), this time I also wanted to resize the work so used a variety of digitype plates alongside digital negatives, I preferred the glass plate negs over the acetate negs. Thanks to Mark Voce for providing an adjustment curve, initially used for Platinum printing but worked equally well for Silver Gelatin FB prints.
Now it was probably bad timing that I had only just sold my 5×4 enlarger to Tarmo Virves in Estonia. This left me with a problem of how to expose the paper!
Its surprising how well turning the darkroom white light on and off by the pullcord worked so well! Exposures were between 2 and 6 seconds depending on the result I needed.
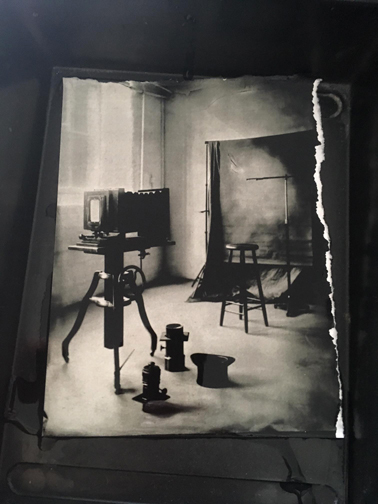
A Bromoil print is made by taking a Silver Gelatin FB print and bleaching it with a solution of Potassium Bromide, Copper Sulphate and Potassium Dichromate. This leaves a faint shadow of the original print. It is then dried and kept for when ready to be inked. This is called a Matrix. When ready, this is soaked in water for a tested set time and temperature. The gelatine throughout the paper/image swells, the lighter areas with less silver content swell greater than the shadow areas. The print is blotted dried and lithographic inks hand applied with brush and roller. This can take a lot of time and practice but it is amazing to watch the image slowly appear.

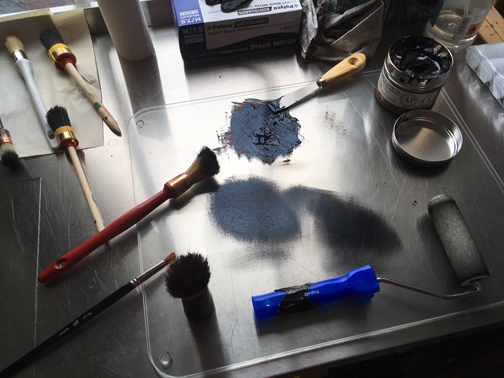
Heres some test samples early on to make sure the gelatine swelled appropriately and took the ink as well as the Ilford paper.

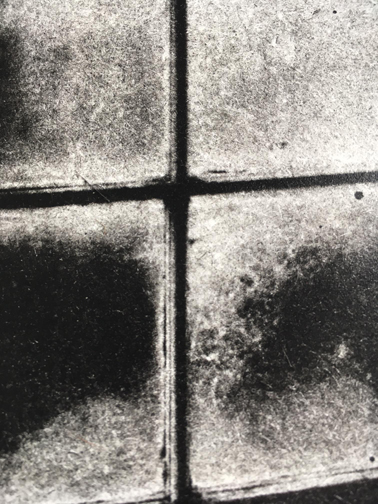
And some later almost finished test prints.
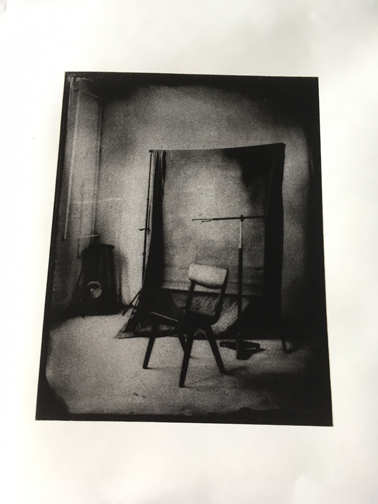
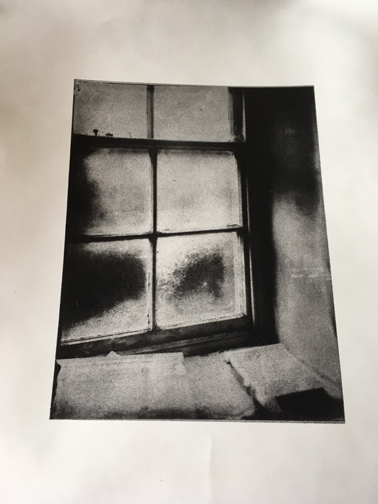
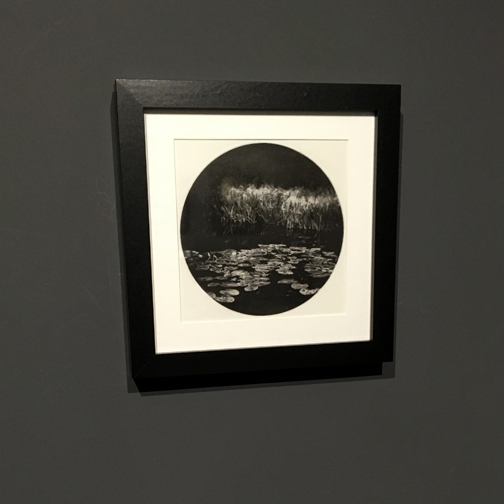
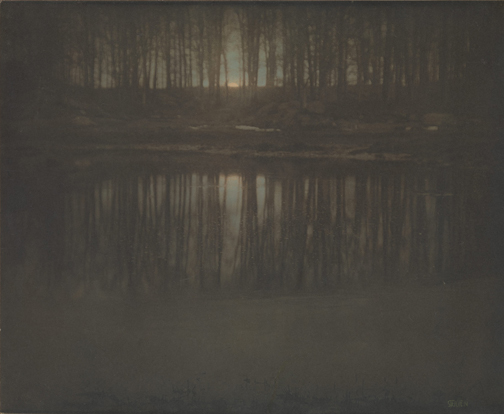
I rarely mention influences or artists I admire but one of my favourite works is The Pond – Moonrise by Edward Steichen. A Platinum print that I always mistakingly thought was a bromoil. I wonder if that influenced my image making above.
There is a further stage one could take called a Bromoil Transfer print. This involves a heavier inking and an etching press. I shall add it to the list…
Wonderful, this.